Description:-
In this Example
we Explain that How to Create Nested Grdview with expand and Collapse Facility
in MVC.
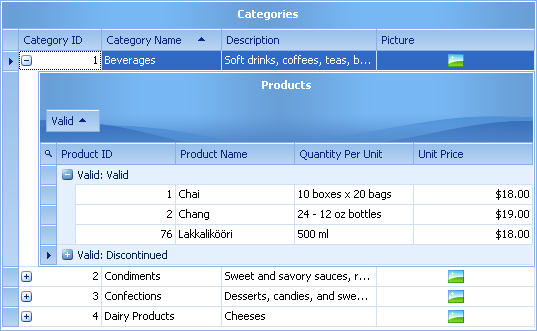
What is Nested Gridview :-
A
Gridview Inside Another Gridview is Called a Nested Gridview.this is Generally
used when we have to Define a long Information of the any object.
For Example:-
If we
want to Display all Data of the Student then one Gridview can not hold all the
Information of the Student.so at that time we can create a part of the
Information like Education Information,General Information,Other Information so
we can Define all Information of the user by Category wise in Different Gridview
like Nested Grid view.
Export Gridview Data to Excelsheet in MVC import/Export data in Excelsheet in mvc4
Display Footer and Grand total in webgrid in MVC MVC4 webgrid with Footer Template
Upload multiple Files with Progressbar upload multiple file at a time with progressbar
Bind country and state in DropdownList in MVC bind dropdownList in MVC4
Upload multiple Files with Progressbar upload multiple file at a time with progressbar
Bind country and state in DropdownList in MVC bind dropdownList in MVC4
To DownLoad the Complete Project Click the Below Download Image Link